There are a lot of ways to trim a video, whether you choose to do it with your device or a program. Not only are the options endless, but it’s a relatively straightforward process as well. Knowing how to trim a video file is very useful since it can make your video that much better.

In this guide, we will show you how to trim a video using your device or video editing software. We will also list some of the best video editing apps you can install to trim your videos.
How to Trim Videos With Devices?
The process of trimming a video refers to cutting and removing the beginning or the end of a video with the trimming tool. The reason the trimming tool is convenient is that it allows you to remove unnecessary or boring content. It’s usually an integral part of every video editing program.
No matter which device or software you choose, the process of trimming your video is generally similar, and it only requires a couple of quick steps.
On Mac
When it comes to Mac, the best way to trim your video is with the default media player – Quick Time Player. Here’s how it’s done:
- Open your video with the Quick Time Player.

- Select “Edit” on the menu bar.

- Click on “Trim” on the dropdown list of options.

- The trimming bar will be framed by a yellow border.

- Move the right or left handles of the border to trim your video.

- Select “Trim.”

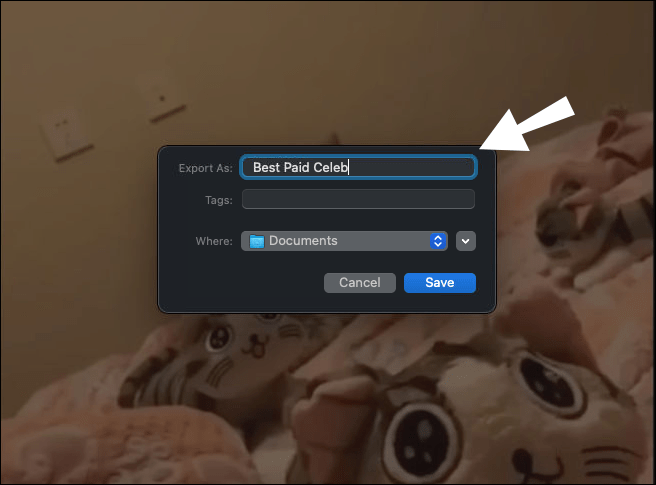
- Name the trimmed video and decide in which folder you want to save it.
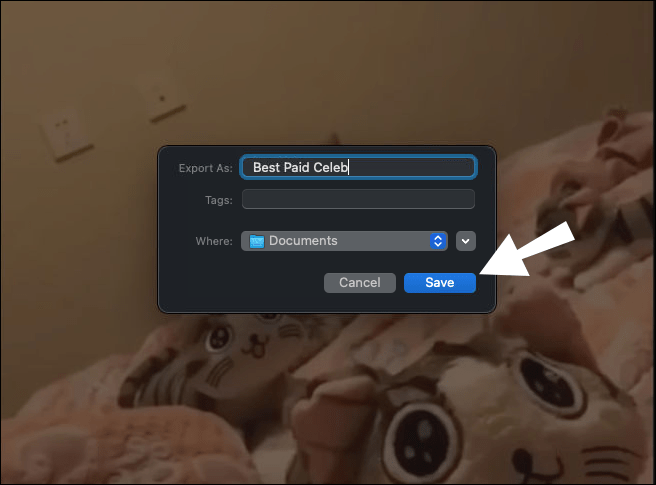
- Select “Save.”
On Windows
If you are using Windows, you will find the video trimming tool within the preinstalled Photos app. This is how it’s done:
- Open the folder containing the video you want to trim.

- Right-click on the video and navigate to “Open with” on the list of options.

- Select “Photos.”

- When the video appears in the Photos app, go to “Edit & Create” on the menu bar.

- Choose “Trim” on the dropdown menu.
Note: In some versions, the “Trim” option will be placed on the menu bar.

- Two circles will appear on each end of the video player. Drag the circles towards each other to determine which parts you want to cut out.

- When you’re done, click “Save a copy” on the menu bar.
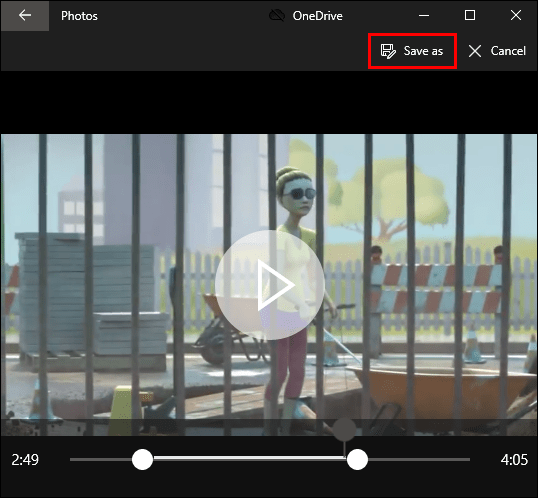
The trimmed video will be placed in the same folder as the original. You can choose whether you want to keep the original video or not.
On Windows 10, this program is called the “Hidden Video Editor,” but it essentially functions the same as the Photos app.
On an Amazon Fire
If you want to edit your video on an Amazon Fire tablet, you will need to download a third-party app. We recommend installing VivaVideo – a free video editor. Here’s how you can use it to trim your video:
- Open the video editing app on your Amazon Fire tablet.
- Choose the “Edit” option.
- Upload the video that you want to trim.
- Go to “Edit” and then “Clip edit.”
- Tap on “Trim.”
- Drag the edges of the trimming bar towards each other to trim the clip.
- Tap “Ok.”
- Got to “Share” and then “Save to device.”
On a Tablet
If you want to trim a video on an Android tablet, follow the steps below:
- Display the video in your Gallery – Don’t open it.
- Select the “Action Overflow” on the menu.
- Tap on “Trim.”
- Drag the edges of the trimming bar left or right to adjust your clip.
- Tap “Done.”
Your new video will be automatically saved in your Gallery.
On an iPad
If you want to edit your video on your iPad, follow the steps below:
- Open the video that you want to trim.
- Tap “Edit.”
- Drag the sliders on the left or right towards the center of the video with your finger.
- To preview your new video, go to the play button.
- When you’ve finished, select “Done.”
- Tap “Save Video” or “Save Video as New Clip.”
If you choose the first option, the new version will replace the original one. If you opt for “Save Video as New Clip,” then both versions of the video will be saved.
On an Android
To edit your video on an Android device, you can use the built-in Gallery App. Follow the steps below to find out how:
- Open your Gallery.

- Find the video that you want to edit and tap on it.

- Go to the pencil/scissor icon in the bottom-left corner of your screen.

- Drag the sliders across the video player to determine where your video will be cut.

- When you’re done, select “Save” in the top-right corner of your screen.

The new video will be automatically saved and placed next to the original one.
On an iPhone
The process of trimming your video on your iPhone is similar to how you would do it on an iPad. This is how it’s done:
- Open your Gallery and go to the video that you want to edit.

- Tap “Edit” in the upper-right corner of your screen.

- Move the yellow sliders to the left or right side.

- Tap on “Done” in the bottom-right corner of your video editor.

- Select either “Save Video as New Clip” or “Save Video.”

How to Trim Videos With Software?
If you prefer using third-party video editing apps to trim your videos, there are loads of options to choose from. Additionally, if you simply want to post your video on a social media platform, you can edit the video within the app.
Here are some apps and programs you can use to trim your videos:
TikTok
As one of the most popular social media apps, TikTok is a platform where video quality and content are more important than anything else. TikTok videos can last up to 60 seconds, so users usually need to trim them first.
If you want to trim a video you just filmed with the app, follow the steps below:
- Shoot the video.
- Go to “Adjust clips” in the upper-right corner of your screen.
- Move the right and left sliders to the preferred length.
- Tap “Save.”
TikTok will immediately give you the option to trim videos that you’ve uploaded from your gallery. Once you’re done editing your clip, you can either save it on your phone or post it.
Adobe Premiere Pro
To trim and edit clips in Adobe Premiere Pro, follow the steps below:
- Open Adobe Premiere Pro on your computer.
- Select “New project” in the Start screen.
- Name your new project and choose in which folder you want to save it.
- Choose the video that you want to upload.
- Click on the “Selection tool” – it looks like a mouse cursor.
- Click on the video sliders and move them to the left or right side.
- When you’re done, click “Save.”
YouTube Video Editor
To trim your video using the YouTube Video Editor, follow the next steps:
- Go to the YouTube Studio.

- Click on “Content” on the left sidebar.

- Select the video you want to trim.
- Go to “Editor” on the left sidebar.

- Click on the “Trim” option.

- Drag the sliders to the left or right side of the video.

- To make sure everything looks good, go to “Preview.”

- When you’ve finished, click on “Save.”

iMovie
This video editing app is available on all iOS devices. Here’s how you can use it to trim your clips:
- Launch iMovie.
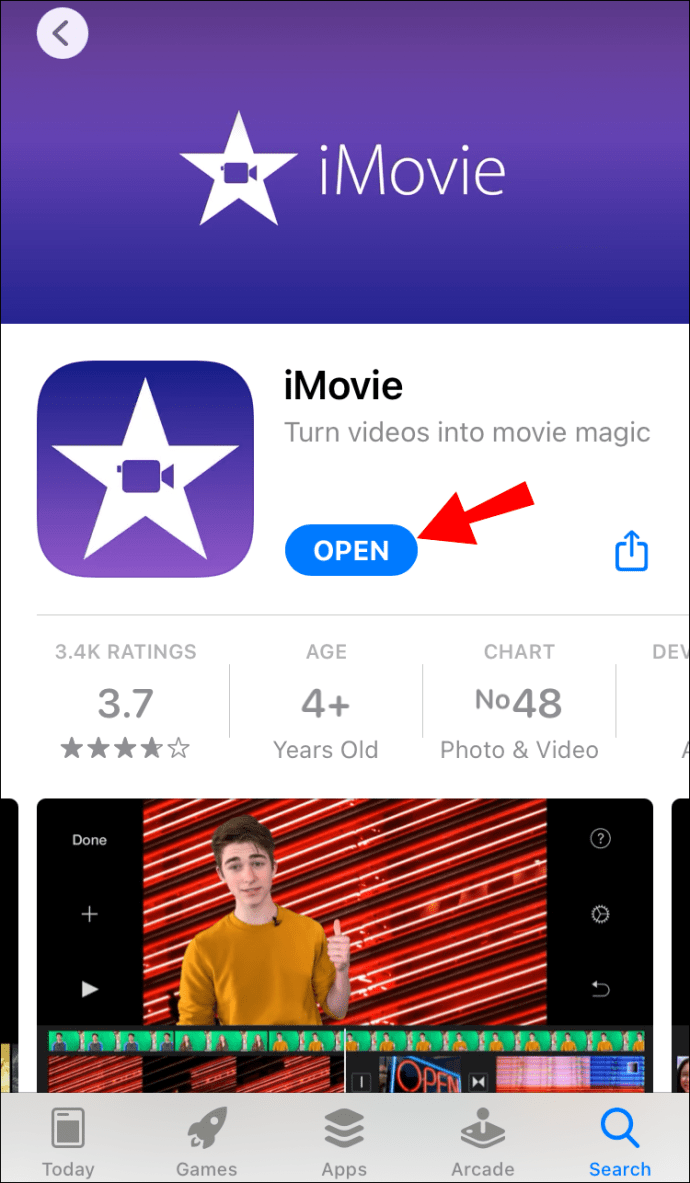
- Select “New Project” and upload the video you want to edit.

- Tap on the video to make the yellow border appear.

- Slide the edges of the border from either side to the center of the video.

- Tap “Done” in the upper-left corner of your screen.

VLC
VLC Media Player can also be used for video editing. This is how you can trim a video using VLC:
- Open the video you want to trim and make sure that VLC is the default video player.

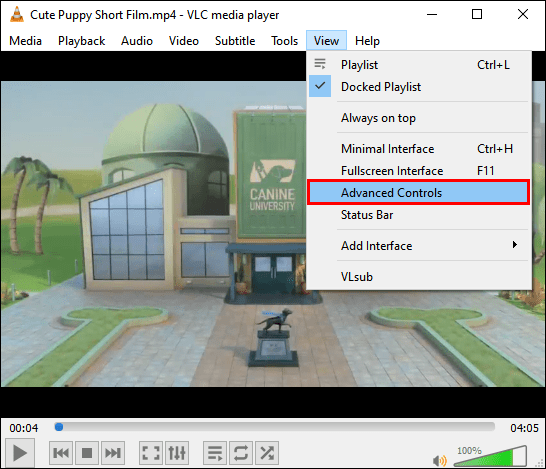
- Go to “View” in the menu bar, and then to “Advanced controls.”
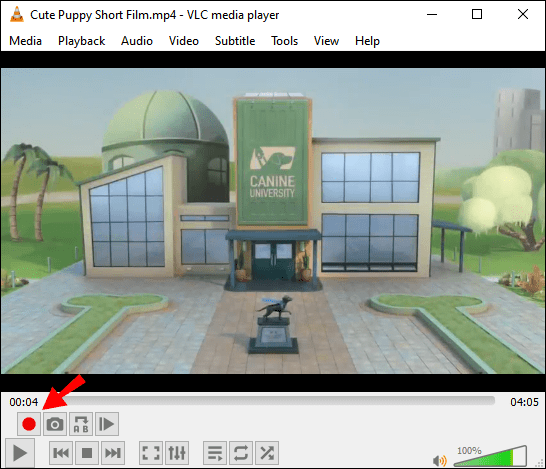
- A red recording button will appear under the clip.
- Play your video and pause it at the exact second you want your trimmed video to start.

- Click on the record button.

- To trim the end of the video, wait until that second comes and click on the record button again.

Doing this will automatically save the trimmed video in your folder. You don’t have to save the changes yourself.
Windows Media Player
Since the Windows Media Player is not generally used for editing videos, you need to install a plug-in to trim a video. The plug-in in question is the SolveigMM WMP Trimmer.
- Download the trimmer and install the plug-in on your computer.

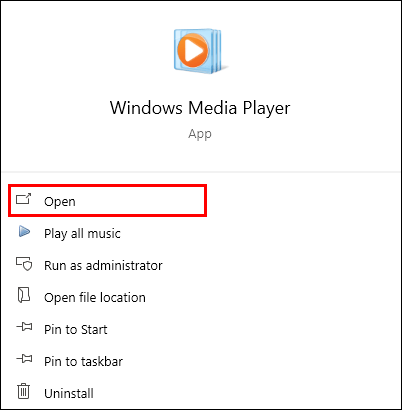
- Open the video with Windows Media Player.
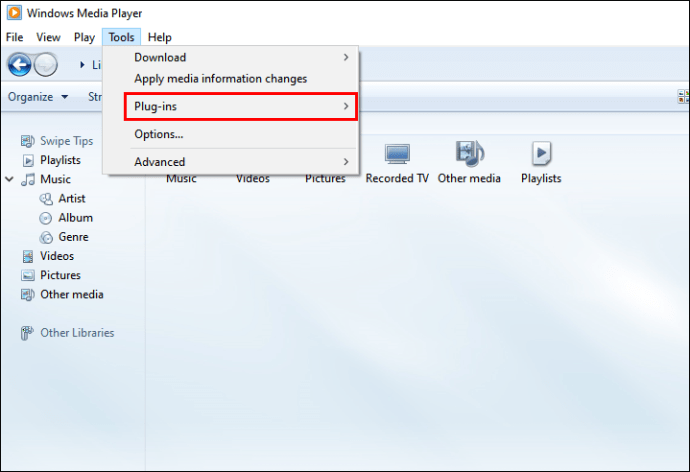
- Go to “Tools” in the menu bar, and then “Plug-ins.”
- Click on “SolveigMM WMP Trimmer Plug-in”

- Play the video.
- Move the left slider to where you want the video to begin and click “Start.”
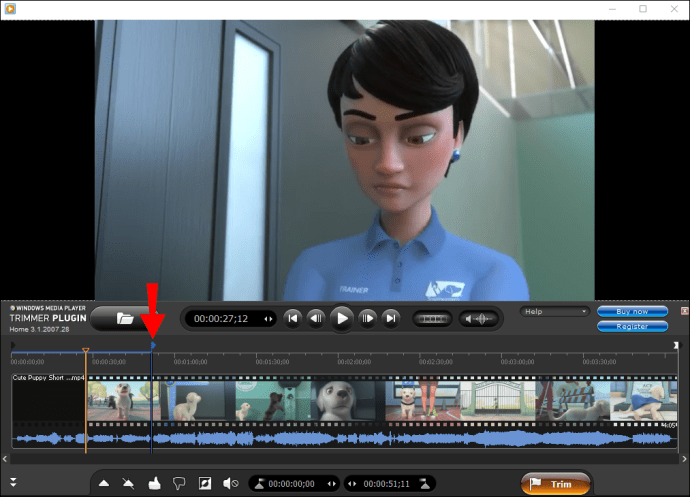
- Move the right slider to where you want the video to end and click “End.”

- Press the “Trim” button.

- Save your file.

Frequently Asked Questions
How to Compress Videos?
To best way to compress a video is by converting it into a zip file. This way, the size of the file will be reduced, but the quality will remain the same. Here’s how to do it:
1. Right-click on the video file you want to compress. – Don’t play the video.
2. Select “Send to” on the dropdown menu.
3. Go to “Compressed (zipped) folder.”
4. It will take a couple of seconds for the video to compress.
5. Rename the file.
Trimming Your Videos Has Never Been So Easy
Now you know how to trim videos on all devices and different video editing apps. You also know how to compress video files. By learning how to trim your videos, you will improve their quality, remove all the unnecessary parts, and make them more interesting.
Have you ever trimmed a video before? Which device did you use? Which video editing app do you think is the best for video trimming? Let us know in the comments section below.
Original page link
Best Cool Tech Gadgets
Top favorite technology gadgets


0 comments:
Post a Comment